*Before you can add events to the campus website, you must have Events Manager credentials on the website. If you don’t have credentials, please submit a Commreq.
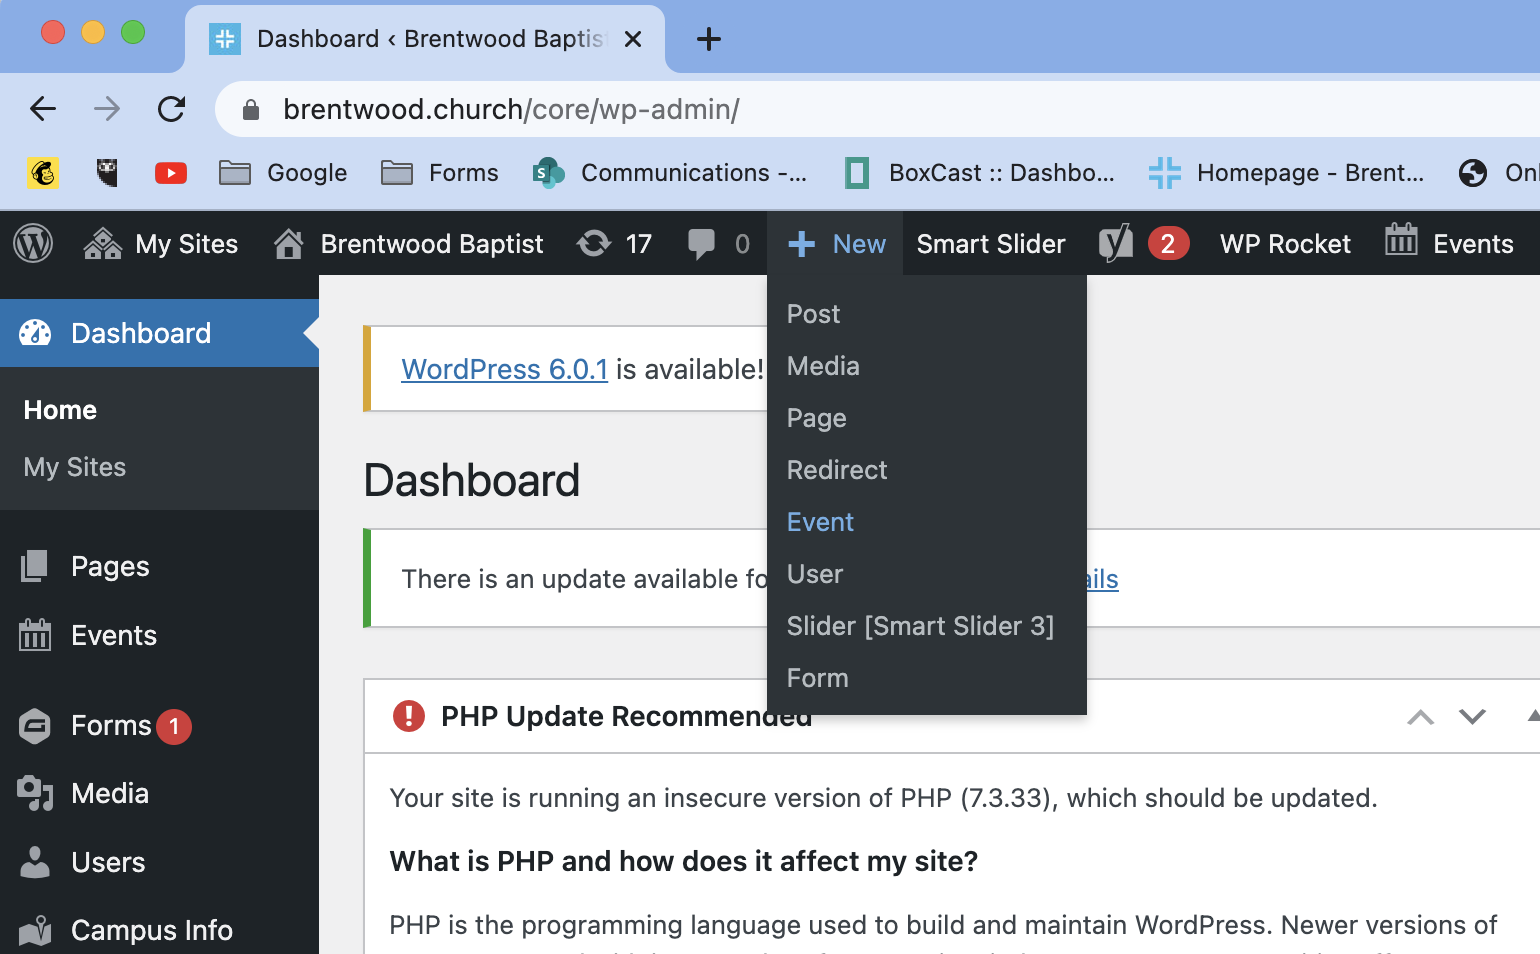
- Log in. Once logged in to the website, hover over “+ New” at the top of the Dashboard, then select Event. Alternatively, you can navigate to Events on the left side of the Dashboard, then select “Add New.”
 2. Title your event. Titles of web events should contain the name of the event only. All details will need to be included in the event description only.
Worship Night
Group Connect
Family Gathering
3. Select “Move title below image.” This will make sure you don’t have overlapping text on the header image.
4. Add event information to text box. Before an event is published, event details must be entered to ensure users know what is happening at the event. This can include a schedule of the night, details of who is speaking, etc… Once you receive official promotion copy from Comms, please update the event.
5. Add date and time. If the event is spans a period of time (ie, weekly gatherings), please use recurring dates instead of one listing that spans the entire series of the event. If registration is closed for a recurring event (new people can’t join), the calendar listing should be taken down. For example, if your event meets every Wednesday night in the Fall and requires registration, the only date(s) that should be listed on the website are the ones where registration is still open.
6. Add location. By default, the location is your campus. If your event meets off-site, update that here.
7. Add an organizer. By default, this is your campus. However, in order for the correct contact info to be listed on the event, this needs to be updated. This means that each ministry area should have an organizer listed here.
8. Add a room number. Make sure your people know where to go when they show up!
9. Add registration info and cost, if applicable. If using a registration link, please use the Registration Link space under Additional Fields. This will automatically format the link into a button.
10. Add event categories. This can be found on the right sidebar and will ensure your event gets listed on the appropriate web pages. However, don’t abuse this just to get your event listed on more pages!
11. Set featured image. Use the “main” graphic that Comms delivers.
*NOTE* “Save the Dates” should not be added to the website and will be deleted. Please be sure ALL of the above fields are completed upon entry. Having all applicable details serves our users best.
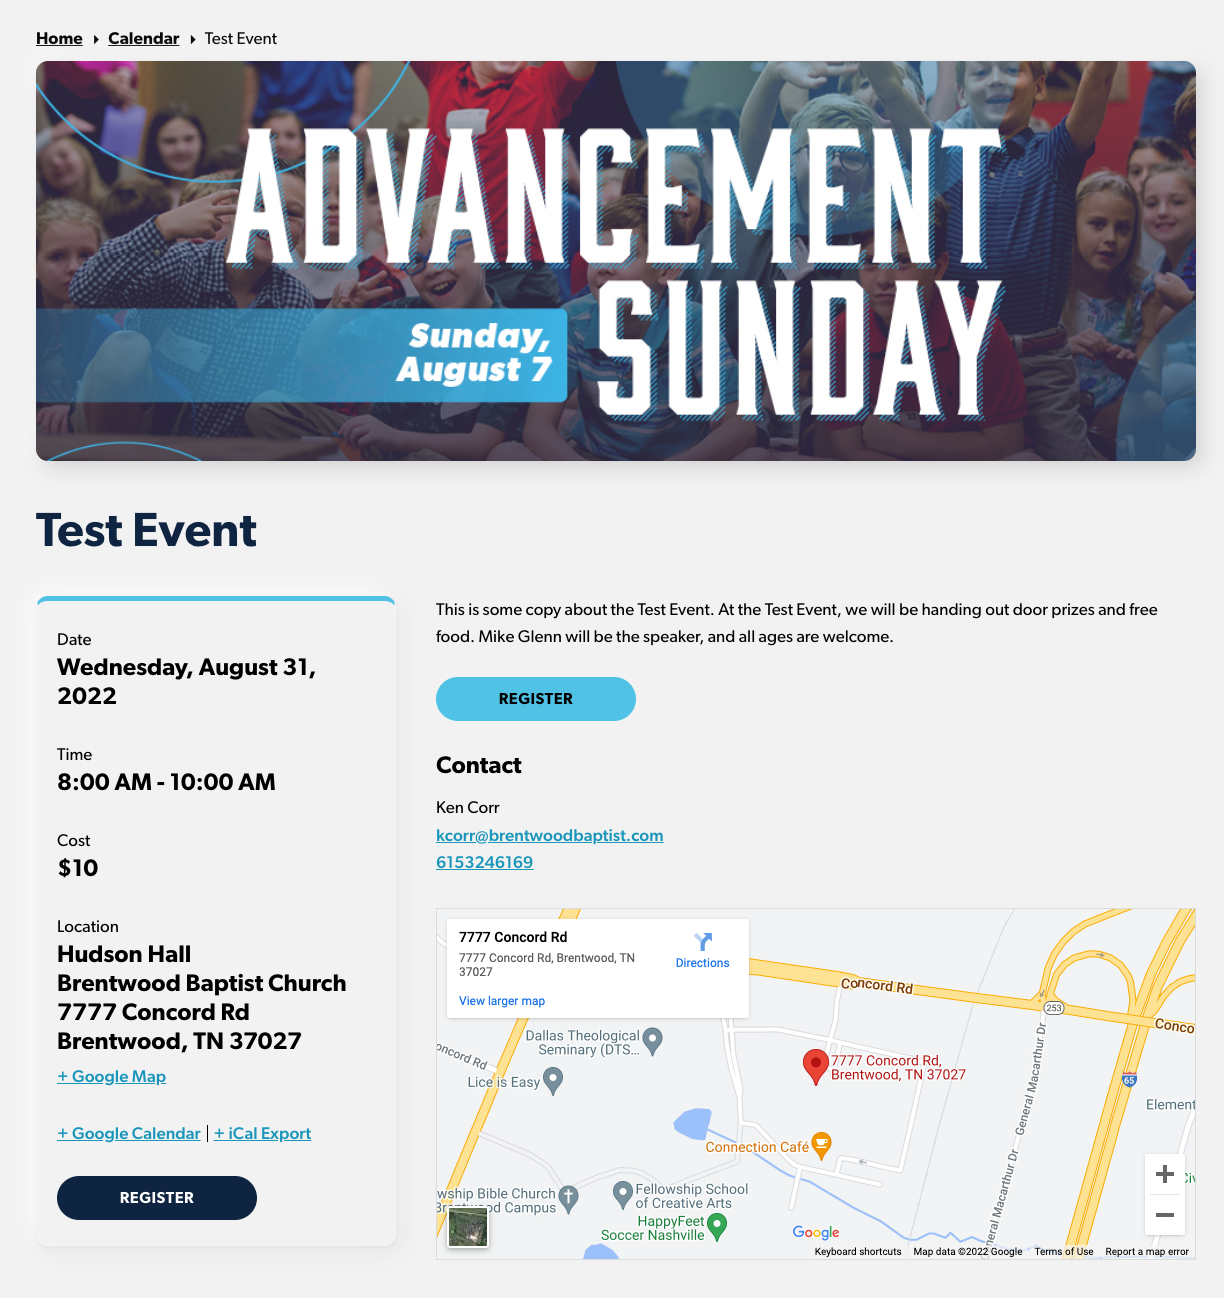
A fully developed event should look like this: